欢迎来到本系列文章,这些内容都是从我的开源项目 C-Shopping 衍生而来的。在这个系列中,我们将深入探讨 Next.js 和其他技术的各个方面,分享我在开发 C-Shopping 时积累的见解和最佳实践。如果你发现这些文章有帮助,请考虑在 GitHub 上为项目点亮一颗星星。你的支持对我来说意义重大,也会激励我进行更多的开发!
项目在线演示地址:
- docker 部署地址:http://shop.huanghanlian.com/
- vercel 部署地址:https://c-shopping-three.vercel.app/
项目传送门:https://github.com/huanghanzhilian/c-shopping
本篇文章围绕 C-Shopping 电商项目的代码实战,研究如何整合 ESLint 、Prettier 、Husky 、Lint-staged 和 Commitlint 等工程化利器,提高代码质量和开发效率。
ESLint —— 代码质量的守护神(工具层)
什么是 ESLint ?
ESLint 是一款强大的静态代码分析工具,有助于发现和修复代码中的问题,并确保整个团队遵循一致的代码规范。
如何整合 ESLint 到你的 C-Shopping 项目?
nextjs 已经提供了一个开箱即用的集成 ESLint 体验。将 next lint 作为脚本添加到 package.json 中
提提供了两种使用模式: Strict:严格模式(本项目中使用); Base:基础模式。
在 nextjs 项目中创建.eslintrc.json
-
安装 ESLint 及相关依赖
npm install --save-dev eslint eslint-config-next -
配置
.eslintrc文件{ "extends": "next/core-web-vitals" } -
ESLint 检查
npm run lint
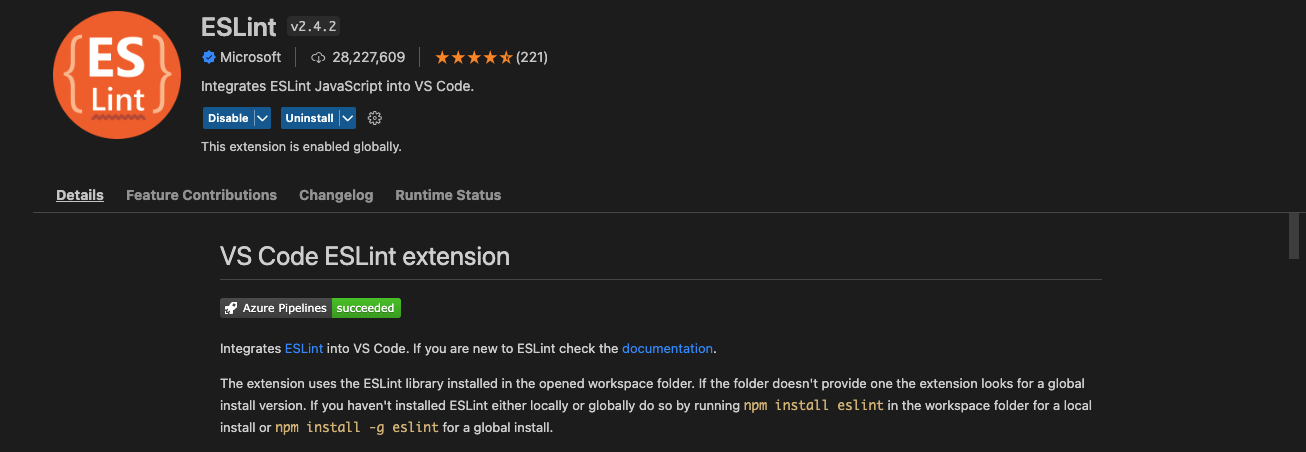
如果你的编辑器是 vscode ,可以配合 ESLint 插件一起使用

Prettier —— 代码格式化的魔法师(工具层)
什么是 Prettier ?
Prettier 是一款自动化代码格式化工具,可以确保整个 C-Shopping 项目的代码风格保持一致,让你的代码更美观。
与 ESLint 的完美协同
-
安装
npm install prettier eslint-plugin-prettier eslint-config-prettier --save-dev -
更新.eslintrc.js 文件
{ "extends": [ "next/core-web-vitals", "plugin:prettier/recommended", "prettier" // Add "prettier" last. This will turn off eslint rules conflicting with prettier. This is not what will format our code. ] } -
添加 NPM 脚本并使用
"scripts": {
	"format": "prettier --write './**/*.+(js|ts|jsx|tsx)'"
},
npm run format
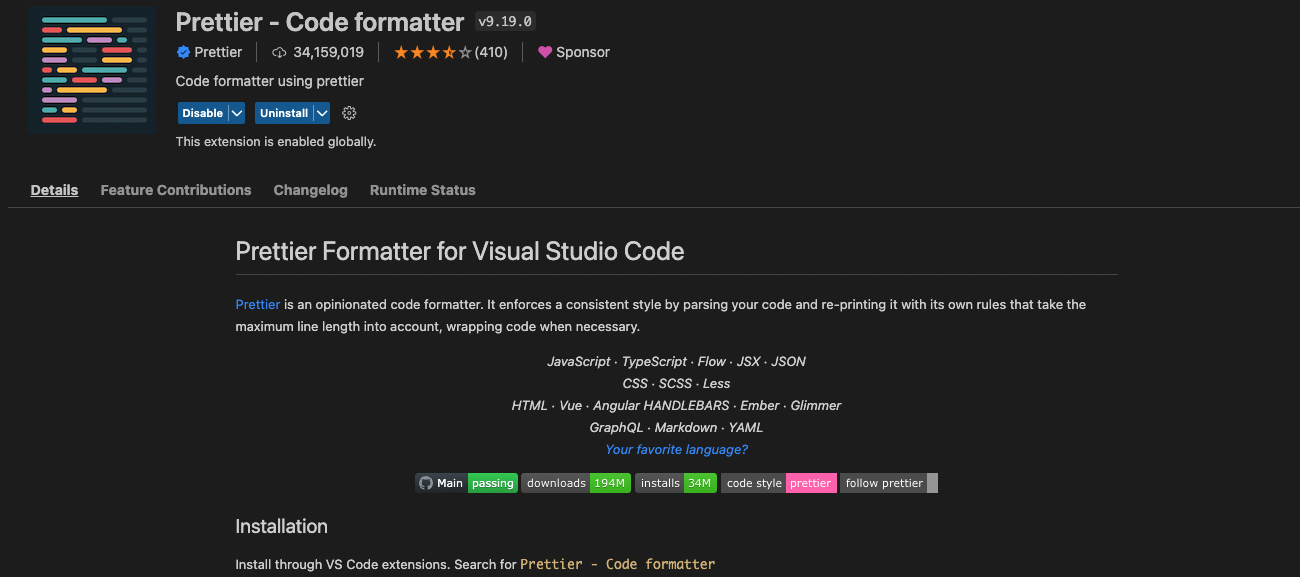
如果你的编辑器是 vscode ,可以配合 ESLint 插件和 prettier 插件一起使用

vscode 编辑器,如果想保存执行 eslint ,prettier
在根目录新建.vscode文件夹,新建settings.json文件
{
    "editor.codeActionsOnSave": {
        "source.fixAll.eslint": true
    }
}
在 vscode ,安装eslint、prettier两插件,保存项目代码就会执行eslint和prettier配置
个性化 Prettier 配置
我们将详细讨论如何根据 C-Shopping 项目的需求调整 Prettier 的配置,让格式化符合你团队的规范。
Husky —— Git Hooks 的得力助手(流程层)
什么是 Husky ?
husky 是一个 git hook 工具,用于你在提交代码的时候进行自定义的操作。
在 C-Shopping 项目中使用 Husky
在 C-Shopping 项目中集成 Husky ,让其在关键的 Git Hooks 上执行我们指定的任务,确保代码提交符合标准。
-
在 git commit 之前执行自定义命令,检查代码
npm install husky --save-dev npm pkg set scripts.prepare="husky install" npm run prepare npx husky add .husky/pre-commit "npm run lint" npx husky add .husky/pre-commit "npm run format" npx husky add .husky/pre-commit "git add ." -
commit lint 代码提交时,限制代码提交规范 限制代码提交规范https://github.com/conventional-changelog/commitlint 安装
# Install commitlint cli and conventional config
npm install --save-dev @commitlint/{config-conventional,cli}
# For Windows:
npm install --save-dev @commitlint/config-conventional @commitlint/cli

# Configure commitlint to use conventional config
echo "module.exports = {extends: ['@commitlint/config-conventional']}" > commitlint.config.js
Add hook
npx husky add .husky/commit-msg 'npx --no -- commitlint --edit ${1}'如果提交不安装规范来会报错

Lint-staged —— 精准 Linting ,高效开发(流程层)
什么是 Lint-staged ?
lint-staged 是一个工具,可以在 Git 暂存区的文件上运行指定的 lint 工具,以便于仅在需要时执行 lint 检查。它通常与 Husky 配合使用,以在提交代码前运行 lint-staged 。使用 lint-staged 可以大大提高 lint 检查的效率,因为只需要针对本次提交的文件执行 lint 检查,而不是所有的文件。
在 C-Shopping 项目中应用 Lint-staged
在根目录新建.lintstagedrc.js
module.exports = {
  // Lint then format TypeScript and JavaScript files
  '/**/*.(ts|tsx|js)': filenames => [
    `eslint --fix ${filenames.join(' ')}`,
    `prettier --write ${filenames.join(' ')}`,
  ],

  // Format MarkDown and JSON
  '/**/*.(md|json)': filenames => `prettier --write ${filenames.join(' ')}`,
}
修改 pre-commit 文件
#!/usr/bin/env sh
. "$(dirname -- "$0")/_/husky.sh"

# npm run lint
# npm run format
npx lint-staged

git add .
结语
通过这一系列的实战指南,你将全面掌握如何运用 ESLint 、Prettier 、Husky 、Lint-staged 和 Commitlint 等工程化工具,打造一个更出色的项目!
最后
希望你在本文中找到了对你的项目实用的见解。如果你对 C-Shopping :https://github.com/your-username/C-Shopping 及其相关技术感兴趣,欢迎在 GitHub 上查看项目。如果你喜欢这些内容并期望看到更多类似的文章,请别忘了给仓库点亮一颗星星。
1
ruoxie 2024-02-06 14:10:30 +08:00 via Android
啊,配了几个 lint 还不能称得上工程化吧
|
2
jixiaopeng OP @ruoxie 哈哈,名字起大了,只能算得上是基础标准化,实在抱歉
|
3
cblberlin 2024-02-06 17:03:20 +08:00
期待下一期
|
4
jixiaopeng OP @cblberlin 谢谢支持
|